

Welcoem to posts!!
in the future - u will be able to do some more stuff here,,,!! like pat catgirl- i mean um yeah... for now u can only see others's posts :c
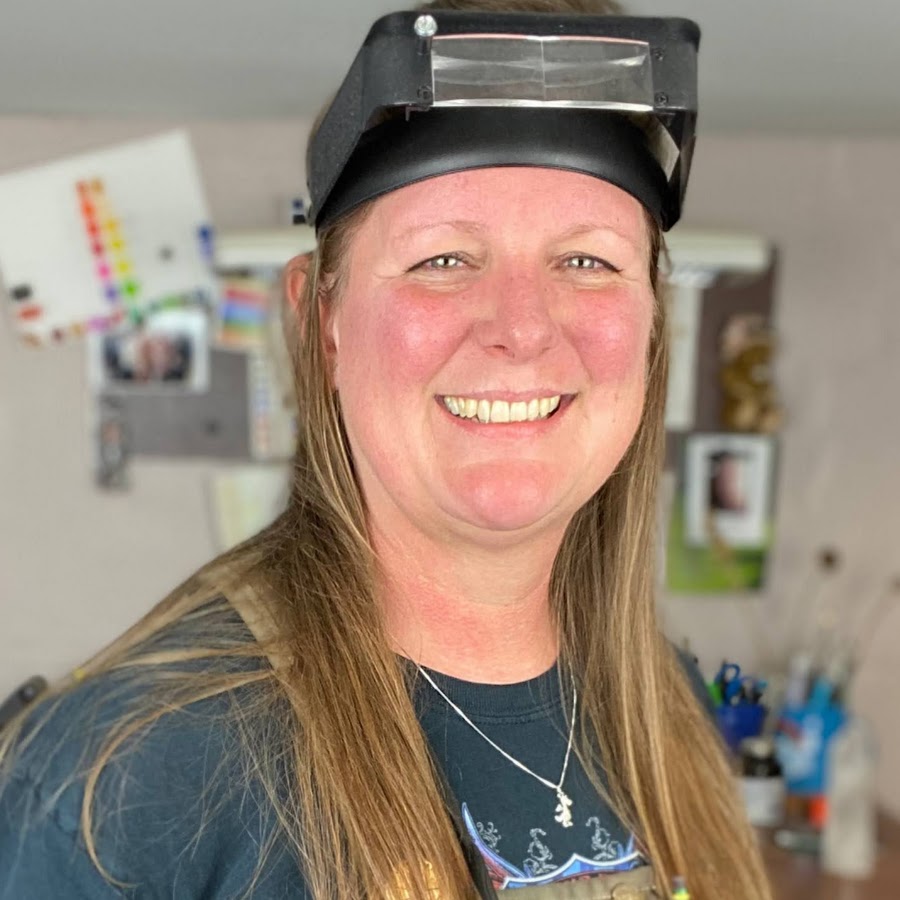
Production work can sometimes feel boring. But, if you're like me, I want to find the most efficient and effective way to create the pieces without them being "exactly" the same. For example, in this project, these were pendants for granddaughters. The client wanted them to all feel the same, but yet differentiate each from the other.
So, after a couple of brainstorm sessions, we decided to make them all the same shape and size, but made each one unique in the stones and engravings we ultimately used for each girl. The front of the pendants were all exactly the same, but hidden in the back was a special message from Grandma to each girl and each girl had a birthstone.
I really enjoyed this project and a few weeks after the Christmas holiday, the client called to tell me how excited her granddaughters were about their special gifts. THIS is the reason I do this work. I love the excitement I hear from my clients.
What kind of production items do you make for your clients? Do you like doing it? Why? I'd love to hear what you think about pseudo-prodution items in your work. Let me know in the comments below.
Cheers!
4 - 0
Making models or samples. I know... all of my students hate it when I tell them they should make a maquette, or sample / model of their idea before they commit the design to metal. This is for a few reasons:
1. Making a model will help you determine if your idea is feasible in the metal or material you plan to use.
2. Making a model will help you NOT waste material if your initial idea ends up causing you to change a design element or re-think the construction process.
3. Finally, making the model will force you to make construction / fabrication decisions to simplify the steps if it seems too complicated.
I'll admit it, I thought the same as all of you when my thesis advisor would tell me the same things. But, as you can see from the pictures below, it does really work! I was able to use the paper model to help me figure out the dimensions of the final project without wasting precious material. This is especially true if you're working on something you have never built before or has a process that is new to you.
Do you make models? If not, why? I'd love to find out what your process is, leave me a note in the comments below!
Cheers!
4 - 0
Yes!!! This is a straight liver of sulfur patina on sterling silver!!! I know, right?! It's absolutely breath-taking and it was an experiment that went right. One caveat... it only works with the dry, chunk liver of sulfur patina. I tried it with the liquid type and it just reacts too quickly to stop the process in time to see the colors change.
I was able to control the color change rate and colors by using hot and cold water during the process to slow the reaction down and preserve the colors. Once I reached the color I wanted, I used Renaissance Wax to seal the piece to slow the patina process down and try to "save" the colors for as long as possible. As you may or may not know, these colors will not last because the very definition of a patina is the changing of color over the passage of time. So... eventually, the gorgeous blues and purples will turn to black. But, sealing the piece with wax will help slow that process down.
If you want to know more about how I was able to achieve these gorgeous colors, let me know in the comments below. I'd love to share the details of the process with you. Maybe I could even make a video tutorial?
9 - 0
Boxes and vessels are wonderful little hiding places for precious things. I decided that with this project I'd combine several different techniques into one final result.
I used reticulation silver to get the wonderful mountains and valleys of texture in the top of the cap for this vessel. The sheer fun of playing with fire to create this magnificent effect made me put this technique into the top category of things I like to do with metal. From there, I moved on to the application of the gold foil using the keum boo technique to fuse gold to the layer of fine silver I created by heating the sterling silver and removing the oxidation. And finally, I bent, shaped, and soldered all of the components into a tubular vessel with a friction lid to hide small, dainty secrets.
The hardest part about this project was getting the friction lid just right. I used the calculation for making a ring blank the right size to figure out how much material I would need to fit the inner ring into the cap and still leave enough space to be able to remove the lid without a lot of pulling and tugging. The last piece of the puzzle was to fuse the gold to the silver and then finally add the patina to bring out the texture of the reticulated silver.
If you'd like to hear more about this project, leave a comment below. I'd love to share my process with you.
Cheers!
4 - 0
In the beginning... everyone has to start somewhere. Here are a few of the first tools I ever bought for jewelry making. I was so proud of them and anxiously started making anything I could think of. Honestly, for the first few years I experimented and played around with different simple techniques before I delved into the world of hard soldering.
The last three images are of things I made when I was first learning to solder. The start was modest and I felt so proud of these things, especially the chain bracelets. At the time, I thought they were so cool and I couldn't believe I made them myself. I proudly wore them everywhere.
Today, my skills have vastly changed and I can barely remember the beginning. I'm so happy I had my wits about me and took pictures of almost everything I have ever made. It wasn't until about 5 years in that I decided to start documenting the process and I'm so happy I did that.
My advice... try anything, everything. Document your work and keep lots of notes, sketches, and processes - successful or not - and go back every once in awhile to remind yourself how far you have progressed. It will serve to boost your confidence and help you "see" the difference time and practice make in your work.
What have been your biggest successes? Do you feel like your work is getting better? Staying the same? I'd love to hear about your own journey, comment down below and let me know your thoughts.
Cheers!
6 - 0
Casting... Lost wax casting is a form of metalworking that requires a lot of patience and persistence in method. It took me several years to get the "hang" of casting and these are some examples of what I was able to achieve in creating suite of rings that incorporated sterling silver, cubic zirconia and some mixed materials like feathers, porcupine quills and deer teeth.
Unconventional, YES! These are definitely not every day wear pieces, but they truly make a unique statement for those times when you want to stand out. These were originally created for a school project when I was in my Master's program at Academy of Art University. And, they were the first of many mixed materials pieces I would go on to create and get great pleasure out of creating.
If you're stuck in a spot where you don't know where to go next, try something unusual and different. You may be surprised at what you can imagine. And, there are no rules, just mix and match and let the materials speak to you, even if you don't want to learn casting, some of the techniques can be used in traditional metalworking.
What have you made that took you so far outside the box you were in? Did you feel liberated? I'd love to hear about what you created, tell me in the comments below!
Cheers!
5 - 0
Soldering aids are one of many important tools you should have in your arsenal. This doesn't mean you have to spend a ton of money on them, it just means you should know how to use them.
My top three favorites, outside of the pick and a torch, are titanium soldering strips from Knew Concepts, a third hand, and cheap heavy gauge (at least 18g) steel bailing wire from the feed store. Each one has many uses and will pretty much be all you need to be successful in keeping your work in place while you heat and solder it.
No matter which of these you use or all of them, they do two primary things: 1.) they act as a heat sink to help keep your metal from overheating/melting and 2.) they hold your work so you can get the most out of the soldering time. Remember, the goal in soldering is to get in quickly and get out as soon as possible to avoid fire scale, so using soldering aids to help speed the process is ideal.
What soldering aids do you use? If you don't use them, why? I'd love to hear about your process, so let me know in the comments below.
Cheers!
2 - 0
Repurpose your metals! Offering up a service to repurpose a customer's old, unworn jewelry has been a very good thing for me creatively. I have been given the honor of several projects that have allowed me to create unique, one-of-a-kind pieces for several of my clients.
This one was my very first request. The client gave me a bunch of her old diamond jewelry and said, "make me something like this..." and showed me some of her own ideas. We brainstormed back and forth and ultimately settled on this fluid design. Each of the diamonds held special meaning to her, so we configured them according to her sentimental attachments.
I removed the diamonds from their settings, melted the gold into a new ingot, and got to work with my hammer, pliers, and burs. I have to say, working with gold is a pleasure compared to sterling silver. Yes, it was intimidating, but only in the knowledge of the cost of the material. As far as gold itself, it's super easy to work with and much more forgiving when in comes to soldering. I LOVED this project.
If you haven't worked with gold before, I encourage you to take on gold projects. It's not as scary as it seems once you treat it just like every other material you work with, respect.
If you have worked with gold before, let me know in the comments. I'd love to hear all about your successes!
Cheers!
7 - 0
One of my biggest projects to date and boy was it a doozy! This project took over 260 hours to complete and at the time, I thought it would be the death of me. But, after it was all said and done, I was so proud of myself for taking on the challenge and the final result made my heart sing!
After several design ideas, the owner and I settled on a theme and went full speed ahead. I hand engraved the fish tail pipes, all of the heat shields, and numerous other parts on the bike to create a show stopper. This was completed in 2017 and the bike has since won several trophies at bike shows.
Also, I submitted the photos of this bike for consideration to be published in the 2018 Jewelry and Metals Survey (JaMS)... and to my delight, it was one of the many wonderful metal artworks accepted into the publication! All that work paid off and the satisfaction I feel for the accomplishment is amazing.
So, don't be afraid to take on a challenge, open your mind and think outside your limits to see what you can do. As Thomas Edison once said, "if we did all of the things we are capable of, we would astound ourselves."
Cheers!
8 - 0
Have you ever tried chasing and repousse? It's an effective way to add dimension to your work with simple tools. With a hammer and a simple steel punch, you can create a myriad of images and textures on your metals giving them a unique twist.
In this sample, I took a picture of my own hand, traced it on copper, and then proceeded to outline (chasing) and push (that's the repousse part of the process) the details of my hand into the metal to create a mini sculpture.
I know, it is a little creepy how much detail I was able to capture, but at the same time I realized how much my hands look like my Grandma's. It was a neat realization and it made me smile. I don't get to see her ofter because she's 3,000 miles away in California, but I know I carry her legacy, not only in my genes, but also in my creativity.
Let me know in the comments if you've ever tried this technique. I'd love to hear about your experience and see images of what you've made (send it to my email julessabarnes@icloud.com).
Cheers!
6 - 0
Discover what it means to sit behind a jeweler's bench beyond the basics. I have learned a lot of things during the many years I have practiced this trade. Many of which, I had to learn through trial and error. I want to help those who are beyond the basics, but not yet professional.
Finding good content on intermediate to advanced levels of silversmithing/goldsmithing is very difficult. So, this channel is dedicated to those of you who have gone beyond the basics and are ready to learn more advanced techniques like stone setting, hollow forms, forging and forming, and so much more. I will focus my videos on projects that are beyond the basics, and give you tips and advice on how to improve your skills no matter your skill level.
If you have ideas about the type of content you'd like to see, shoot me an email at the address below and let me know your thoughts. I'd love to create content to help you learn something new.
Julessa